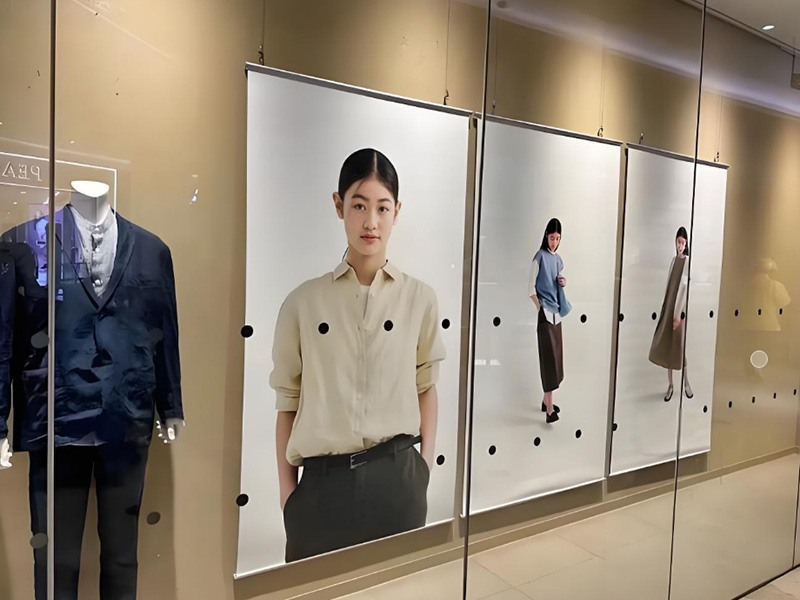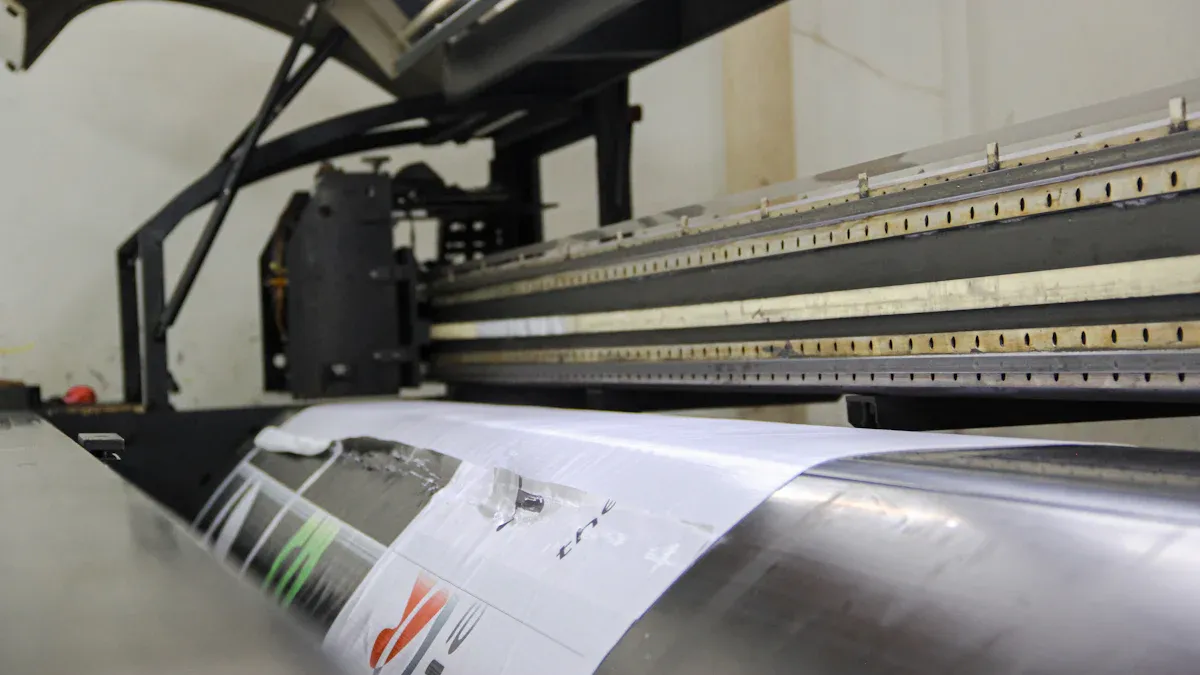
Large Format Canvas Printing helps turn your favorite pictures into bold art. It’s not just about being large; it’s about looking great. When done well, your prints will have sharp details, last long, and even handle weather. Whether you’re decorating your room or making art to sell, learning Large Format Canvas Printing helps your work stand out.
Here’s the good news—it’s easier than it looks. With simple tips, you’ll know how to pick the best materials, improve your pictures, and get files ready like an expert. You’ll feel sure of yourself at every step.
Key Takeaways
Use clear, high-quality pictures for big canvas prints. Aim for 150 DPI for good clarity, and 300 DPI for sharper details.
Pick the right canvas type. Cotton looks classic but needs care, while polyester is strong and easy to clean.
Check the canvas weight and finish. Thicker canvases last longer, and finishes like shiny or dull change how colors look.
Choose the right file type for printing. Use TIFF for clear images, JPEG for photos, and PDF for designs.
Always check your design before printing. Look for mistakes, check colors, and make sure key details fit safely.
Picking the Best Picture and Canvas Material
Using Clear Images for Big Canvas Prints
For big canvas prints, your picture’s quality is super important. You want it to look clear and colorful, not blurry or blocky. That’s why you need a high-resolution image. Aim for at least 150 DPI (dots per inch) for good results. For even sharper details, go for 300 DPI. Higher DPI makes a big difference, especially for pictures with tiny details or fancy designs.
Think of it like this: bigger canvases need more pixels to stay clear. If your picture isn’t high enough quality, resizing might help, but do it carefully to keep it sharp. Tools like Photoshop or online resizing apps can help with this. Always check the resolution before printing.
Tip: Not sure about your picture’s resolution? Ask your printer or use online tools to check the DPI. It’s better to be safe than sorry!
Cotton or Polyester: Which Canvas Should You Pick?
The canvas material matters as much as the picture. Cotton and polyester are the most common choices, and both have pros and cons. Cotton has a natural feel and looks classic. It’s eco-friendly but needs extra care to avoid shrinking or water damage. Polyester is tough, doesn’t stretch, and is easier to clean. It also handles rough conditions better.
Here’s a simple comparison to help you choose:
Feature | Cotton | Polyester |
|---|---|---|
Strength | Okay (weaker when wet) | Strong |
Care | Needs careful washing | Easy to clean |
Eco-Friendliness | Renewable, uses lots of water | Non-renewable, recyclable options |
If you want something that lasts long, polyester is a good pick. But if you like a classic look and don’t mind extra care, cotton works well.
Note: Think about your project’s purpose. For fine art, cotton’s texture is great. For business displays, polyester’s toughness is better.
Important Things: Feel, Weight, and Finish
The feel, weight, and finish of your canvas affect how your print looks. The texture changes how the picture shows up. Smooth textures are great for detailed pictures, while rough ones add style to artsy designs.
Weight is also key. Heavier canvases are stronger and last longer, which is great for big prints. Lighter ones are easier to move but might not last as long.
Lastly, the finish protects your print. A good finish makes colors brighter and keeps the canvas safe from dust, water, and sunlight. Glossy finishes make colors stand out, matte finishes look soft and classy, and satin finishes are in between.
Tip: Always check your canvas material and finish before printing. Spending more on good materials makes your prints look better and last longer.
Optimizing Image Quality for Large Format Canvas Printing
Understanding DPI and Resolution for Large Format Printing
DPI (dots per inch) and resolution decide how clear prints look. For most projects, 300 DPI works best. It keeps prints sharp and avoids blurry spots. If you’re making fine art, you might need higher DPI. But going over 600 DPI rarely helps and costs more.
If you’re unsure, choose a higher DPI. It gives better clarity and prevents bad results. Bigger prints need high-resolution images to look their best. This makes sure your work grabs attention.
Tip: Check your image’s resolution before printing. A quick check avoids bad surprises.
Resizing Images Without Losing Quality
Resizing images for big canvas prints can seem hard, but it’s simple. Start with a high-resolution image. This lets you resize without losing quality. If you need to make it bigger, do it slowly—about 10% at a time. This keeps details clear and avoids problems.
Keep the original shape of the image. Stretching or squeezing it can ruin how it looks. After resizing, sharpen the edges to fix lost details. Tools like Photoshop make this easy and accurate.
Pro Tip: Resize in small steps. Slow changes give better results and clearer prints.
Enhancing Image Sharpness and Contrast
Sharpness and contrast make prints look amazing. High-resolution images are sharp, but editing can improve them more. Use software to adjust sharpness and contrast. This makes prints stand out and look deeper.
For text or line art, use 150-300 DPI for clean edges. Photos look good at 150-200 DPI, while detailed art may need up to 300 DPI. Vector graphics are great because they stay sharp at any size.
Content Type | |
|---|---|
Text and Line Art | 150-300 DPI |
Photographs | 150-200 DPI |
Fine Detail Exhibits | Up to 300 DPI |
Note: Adjusting sharpness and contrast turns dull images into stunning prints. Don’t skip this step!
Preparing Files for Printing Large Canvas Photos
Picking the Right File Format: JPEG, TIFF, or PDF
Choosing the correct file format is key for good prints. Each format has its own benefits, so pick based on your needs.
JPEG is great for photos. It keeps files small but may lose quality if resolution is low.
TIFF works best for high-resolution pictures. It keeps details sharp and avoids losing quality, making it ideal for big prints.
PDF is perfect for designs made in programs like Illustrator. It keeps layouts neat and is accepted by most printers.
File Format | Benefits | Best Use Case |
|---|---|---|
JPEG | Good for photos, small file size | High-res images, but may lose quality |
TIFF | Keeps details, great for big prints | Posters or detailed digital art |
Keeps layouts, widely accepted | Designs from software like Illustrator |
Tip: Save JPEG files with quality set to 10 or higher. Use TIFF for detailed images. For better colors, set ICC Profile to Adobe RGB (1998).
Adding Bleed and Margins for Canvas Prints
Bleed and margins are simple but very important. Bleed makes sure your design goes past the canvas edges. This stops white borders after cutting. Add at least 1/8 inch of extra space around your file.
Margins keep important parts of your design safe. Stay inside the “safe area” to avoid cutting off key details. Trim marks help printers cut accurately.
Bleed prevents white edges.
Trim marks guide cutting.
Keep designs inside the safe area.
Pro Tip: Check bleed and margins before sending your file. Small mistakes here can ruin your print.
Checking Your Design for Mistakes
Proofing helps you catch errors before printing. Always check your design carefully. Soft proofs show how colors and details will look on the canvas.
Ask others to review your design too. Annotation tools make sharing feedback easy. Use a checklist to make sure you don’t miss anything.
Use PDF proofs for sharing.
Check colors and branding for consistency.
Review all design parts closely.
Note: Online proofing tools make this step easier. They organize feedback and send reminders to keep things on track.
By preparing files the right way, your canvas prints will look amazing. These tips help you avoid mistakes and get professional results.
Mastering Color Management and Printer Settings
Using Color Profiles: sRGB vs Adobe RGB
Color profiles decide how colors look on screens and prints. Picking between sRGB and Adobe RGB depends on your project needs.
Adobe RGB shows more colors, especially greens and blues. It’s great for professional photos and fancy prints. If you want bright and exact colors, choose Adobe RGB.
But not all devices work with Adobe RGB. Some colors might not show right.
sRGB works on most screens and printers. It’s a safer choice for everyday projects and online printing.
Adobe RGB covers more colors than sRGB, making it better for big prints. But if your printer or screen doesn’t support Adobe RGB, you won’t see its full benefits.
Tip: Ask your printer service which color profile they prefer. If they use sRGB, Adobe RGB might not work as well.
Calibrating Your Monitor for Accurate Color Representation
Ever printed a picture that looked great on your screen but bad on paper? This happens when your monitor isn’t calibrated. Calibration makes sure screen colors match printed colors.
Why it’s important:
Calibration tools measure your screen’s colors and fix settings like brightness and white balance. This makes colors more accurate.
Many color problems in big canvas prints happen because monitors aren’t calibrated.
Use tools like colorimeters or software to calibrate your screen. These tools guide you and make changes automatically.
Pro Tip: Calibrate your screen in a room with steady lighting. Bright or changing light can mess up how colors look.
Adjusting Printer Settings for Large Format Canvas Printing
Printer settings are key to making your canvas prints look amazing. Even the best picture and canvas won’t shine without good printer settings.
Here’s how to set them up:
Pick the best resolution: Use the highest resolution your printer offers. This keeps details sharp and colors bright.
Match the color profile: Set your printer to match your file’s color profile (sRGB or Adobe RGB). This avoids color mistakes.
Set ink levels: Use high-quality ink and adjust saturation to prevent colors from being too bright or dull.
Do a test print: Print a small sample first. This helps catch problems early.
Note: If you’re using a professional printer service, ask about their settings. They often have special setups for big prints that save time and effort.
Getting great canvas prints means paying attention to every detail. From picking the right color profile to calibrating your screen and setting up your printer, these tips will help you get perfect results every time.
Exploring Finishing and Display Options
Picking the Best Finish: Gloss, Matte, or Satin
The finish you pick changes how your canvas looks. Gloss finishes are shiny and make colors bright. They’re great for colorful pictures like sunsets or abstract art. Matte finishes are soft and don’t reflect light. They work well for black-and-white photos or detailed art. Satin finishes are in between, mixing gloss’s brightness with matte’s softness.
Think about where you’ll hang your canvas. Glossy finishes look best in rooms with dim lighting. Matte finishes stop glare in bright spaces. Satin works well almost anywhere.
Tip: Test a small piece of the finish first. This helps you see how it will look.
Stretching and Mounting Canvas Prints
Stretching and mounting make your canvas ready to display. Stretching pulls the canvas tightly over a wooden frame. This gives it a neat, professional look, perfect for galleries.
Mounting is another option. Wet mounting uses glue to stick the canvas to a strong board like gator board. It’s great for long-term use. Dry mounting uses a sticky film instead of glue. It’s faster but might not last as long.
Gator board is strong and doesn’t bend easily. It works well for wet mounting and stays sturdy over time.
Trick: Want a modern style? Mount your canvas without stretching. It keeps your print safe and stylish.
Framing and Hanging Large Canvas Prints
Frames complete the look of your canvas. Floating frames are simple and modern. Fancy frames add drama and stand out more. A professional framer can help protect and mount your canvas perfectly.
For hanging, use tools like French cleats or wires for strong support. Hang your canvas at eye level for the best view. If you have many prints, arrange them evenly in rows or grids. This makes your display look neat and organized.
Tip: Use a level tool when hanging your canvas. It keeps your artwork straight and looking great.
Final Tips for Mastering Large Format Printing
Best Practices for Working with Professional Printing Services
Working with professional printers can make your canvas prints amazing. These experts have tools and skills to ensure great results. To get the best outcome, talk clearly with them. Share your ideas, ask questions, and explain your project in detail. This helps them understand what you want and meet your expectations.
Professional printers often offer extra help, like advice and training. For example, Ricoh’s services include tips to improve your printing process. They also check for problems and suggest ways to save time. By teaming up with experts, you can use their knowledge and tools to make things easier.
Tip: Think of your printer as a teammate. Solve problems together to make your project look its best.
Avoiding Common Mistakes in Large Format Canvas Printing
Mistakes in large canvas printing can cost money but are easy to avoid. Always start with high-quality images. Low-resolution pictures can look blurry or pixelated when printed. Check your design carefully for bleed and safe zones. This ensures no important parts get cut off.
Don’t skip test prints. A small test print can show problems with colors or sharpness before the final print. Also, calibrate your monitor. This step makes sure the colors on your screen match the printed version.
Pro Tip: Use design tools like Adobe Illustrator for better-quality designs. It’s worth it for sharper results.
Caring for and Maintaining Your Canvas Prints
Taking care of your canvas prints keeps them looking good for years. Don’t hang them in direct sunlight, as it can fade the colors. Dust them gently with a soft, dry cloth to keep them clean.
If your canvas gets dirty, wipe it with a damp cloth. Avoid using strong cleaners or scrubbing, as this can ruin the finish. For extra protection, consider framing your canvas. Frames keep your artwork safe and make it look more polished.
Tip: Use strong hanging tools, like French cleats, to keep your canvas secure. This keeps your artwork safe and looking great.
Mastering large format canvas printing is about following simple steps. First, pick and prepare your pictures carefully. Make sure the size and shape fit your design well. Pay attention to every detail during printing and setup. Try out different methods and materials to find what works best. These tips will help you make prints that look amazing and last a long time.
Remember: Good planning and careful work lead to professional-looking prints.
FAQ
1. What’s the best resolution for large canvas prints?
Use at least 150 DPI for clear prints. For sharper images, aim for 300 DPI. Bigger prints need higher resolution to avoid blurry spots. Always check DPI before printing.
Tip: Resize images carefully with tools like Photoshop to keep them sharp.
2. Can I use regular photos for large canvas printing?
Yes, but they must be high-quality. Low-resolution photos can look blurry when enlarged. Use editing software to improve image sharpness if needed.
Note: Don’t stretch or squeeze your image while resizing.
3. Which canvas material lasts longer: cotton or polyester?
Polyester is stronger and easier to clean. Cotton feels natural but needs more care. Pick based on your project’s needs and where it will be used.
Material | Strength | Feel | Care Needed |
|---|---|---|---|
Cotton | Medium | Classic | High |
Polyester | Strong | Smooth | Low |
4. How do I prevent colors from fading on my canvas prints?
Keep your canvas away from sunlight and damp areas. Add a protective finish like gloss or satin to block dust and UV rays.
Pro Tip: Frame your canvas for extra protection and a polished look.
5. Do I need special software to prepare files for printing?
Not always. Programs like Photoshop or Illustrator help with resizing and proofing. Free online tools can handle simple edits too.
Tip: Save files as TIFF or PDF for better quality and printer compatibility.


