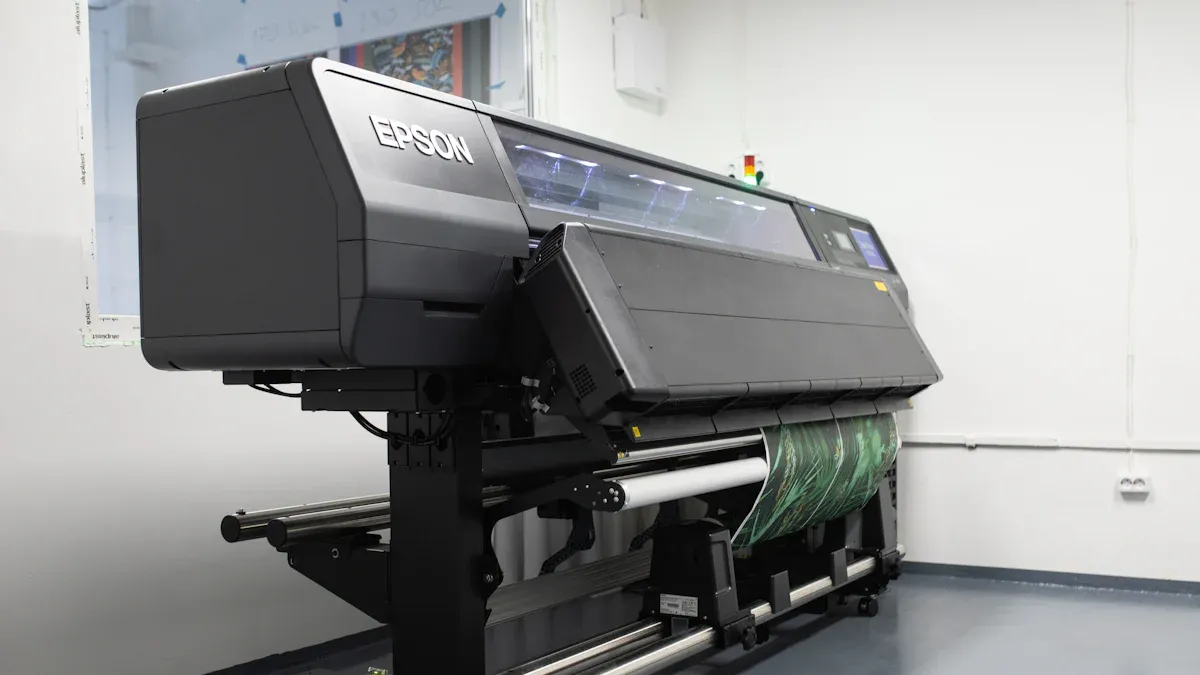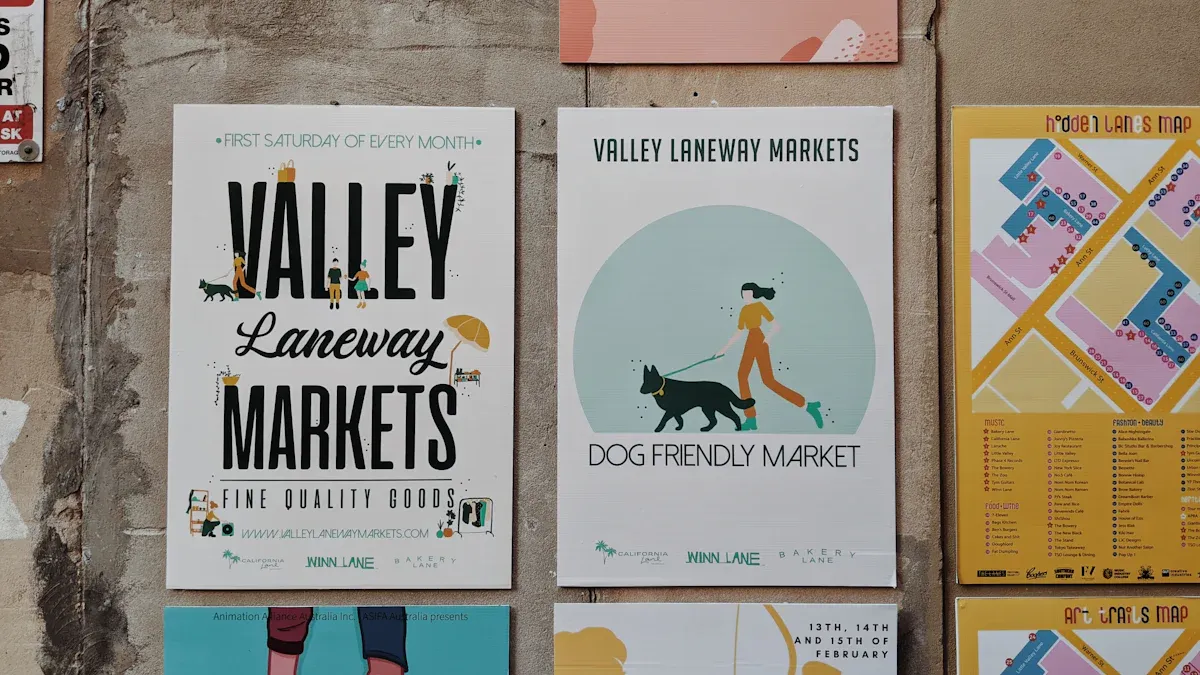
Have you noticed how fast big posters can get damaged? Lamination for large posters works like a shield. It protects posters from scratches, folds, and fading, keeping them looking new and neat for longer. Many people now use lamination for large posters because it makes paper and cardboard last longer. That’s why schools and printing companies use it a lot.
Lamination for large posters doesn’t just protect—it improves the look too. A shiny finish makes colors brighter, while a matte finish gives a smooth, no-glare look. Picking the right lamination for large posters helps your display stand out and stay safe. Whether for outdoor events or office displays, laminating large posters is a smart choice.
Key Takeaways
Lamination keeps big posters safe from scratches, tears, and fading. It helps them last longer in busy places.
Pick gloss or matte finishes based on your needs. Gloss makes colors pop, while matte stops glare for easier reading.
For outside use, choose UV and water-resistant lamination. This keeps posters bright and safe from bad weather.
Use easy steps to laminate posters: clean them, pick the right film, and trim edges for a neat look.
Save money by ordering more at once and using standard sizes. This keeps lamination cheap but still good quality.
Why Laminate Your Posters?
Benefits of Lamination for Durability and Protection
Have you seen how fast posters get damaged in busy places? In schools, malls, or airports, posters face spills, scratches, and sunlight. Lamination works like armor, protecting posters from tears and fading. It keeps them safe and looking good for longer!
Studies show laminated posters last longer in crowded areas. They stay clear even after being touched many times. This makes lamination perfect for places like airports or outdoor ads. Laminating your posters not only protects them but also keeps them looking neat and professional.
Gloss vs Matte Lamination: Pros and Cons
When laminating, you can pick between gloss or matte finishes. Each has its own benefits, depending on your poster’s purpose.
Gloss Lamination: This finish is shiny and makes colors stand out. It’s great for bold designs or photos. But it can cause glare under bright lights, which isn’t ideal indoors.
Matte Lamination: This finish is smooth and doesn’t reflect light. It’s perfect for posters with lots of text or in bright spaces. However, it doesn’t make colors as bright as gloss does.
So, which one should you pick? Choose gloss for colorful, eye-catching designs. Pick matte for a clean, professional look.
UV Protection and Moisture Resistance for Outdoor Use
Outdoor posters face tough conditions like rain, sun, and humidity. Without protection, they can fade, tear, or wrinkle. That’s why UV and moisture-resistant lamination is so helpful.
Here’s how these features work:
Feature Description | Key Benefits |
|---|---|
Blocks UV rays and keeps out water. | Helps posters last longer and stay in good condition. |
Stops colors from fading in sunlight. | Keeps outdoor posters bright and easy to read. |
Protects against weather, scratches, and damage. | Perfect for outdoor ads and displays. |
For example, cold laminating films are great for outdoor posters. They are waterproof and resist scratches, making them durable. Some materials, like soft vinyl brochures, are tear-proof and last over two years in sunlight. With these options, your posters can handle any weather.
By picking the right lamination, you protect your posters and keep your message clear, no matter the conditions.
Lamination Options for Large Format Posters

Thermal vs. Cold Lamination
When laminating big posters, there are two main methods: thermal lamination and cold lamination. Each has its own benefits, and your choice depends on what you need.
Here’s a simple comparison to help you pick:
Feature | Cold Lamination | Hot Lamination |
|---|---|---|
Process | Uses sticky film pressed onto the poster | Uses heat to seal film over the poster |
Temperature | No heat needed | Works at 250-300°F |
Bonding | Adhesive sticks to the surface | Heat melts film for a strong seal |
Ideal Use | Best for indoor posters | Great for outdoor or large projects |
Protection | Basic protection from scratches | Strong shield against water and dirt |
Cold lamination is best for indoor posters that don’t face tough conditions. It’s easy to use and safe for delicate materials. Thermal lamination, however, creates a stronger seal. It’s great for outdoor posters or ones that need to handle moisture, dirt, or heavy use.
If you want long-lasting protection, go with thermal lamination. It works faster and protects better. It also works well with different materials, like photos or vinyl. Cold lamination is better for quick, low-cost projects that don’t need heavy-duty protection.
Laminating Standard Sizes: 24×36, 36×48, 48×72
Big posters come in many sizes, but some are more common. Popular sizes like 24×36, 36×48, and 48×72 are used for events, classrooms, and ads. Laminating these sizes keeps them safe and looking professional.
Here’s why lamination is great for these sizes:
24×36 Posters: These are smaller and good for classrooms or flyers. Lamination makes them stronger and protects them from damage.
36×48 Posters: This size is common for presentations or trade shows. Lamination keeps them neat, even after lots of handling.
48×72 Posters: These large posters are perfect for outdoor ads. UV-resistant lamination protects them from sunlight and weather.
No matter the size, lamination makes posters last longer and look polished. It’s a smart choice for posters that need to stay in good shape or make a big impression.
Specialty Laminations: Anti-Glare, Writable, and Textured Finishes
Sometimes, regular lamination isn’t enough. Special laminations offer extra features to improve your posters.
Benefit | Description |
|---|---|
Durability | Protects posters from damage, making them last longer. |
Enhanced Appearance | Gives a professional look, making posters stand out. |
Easy Cleaning | Lets you clean the surface easily. |
Resistance to Fading | Stops colors from fading in sunlight. |
Improved Rigidity | Makes posters stiffer and harder to bend. |
Anti-Glare Lamination: Great for posters in bright areas. It reduces reflections, so text and images are easier to see.
Writable Lamination: Perfect for teaching charts. You can write on them with markers and wipe them clean.
Textured Finishes: Adds a unique feel to your posters. Ideal for creative projects or displays that need a special touch.
Special laminations don’t just protect—they make your posters more useful and attractive. Whether you need less glare, a writable surface, or a textured design, there’s an option for you.
The Lamination Process for Large Posters
Step-by-Step Guide to Laminating Large Posters
Laminating big posters might seem hard, but it’s simple with steps. Follow this guide to laminate your poster easily:
Clean Your Poster: Make sure it’s free of dirt or smudges. Dirt can get stuck under the laminate.
Pick the Right Film: Choose a film that fits your needs. Use waterproof or UV-resistant films for outdoor posters.
Set Up the Laminator: Adjust settings based on the film and poster size. Heat the laminator if it’s thermal.
Align the Poster: Place the poster straight on the feed tray. This prevents bubbles or wrinkles.
Laminate Slowly: Feed the poster into the machine at a steady pace. Let the laminator do its job.
Trim the Edges: Cut off extra film after laminating for a clean look.
Follow these steps to get a neat, laminated poster ready to display.
Tools and Equipment Used in Poster Lamination
The right tools make laminating easier and better. Here are some useful items:
Tool/Accessory | What It Does |
|---|---|
Keeps adhesive from leaking onto laminating pouches or documents. | |
Trimmer/Cutter | Cuts lamination edges neatly, available in different styles. |
Carts and stands | Holds laminating tools and gives workspace for projects. |
Cleaners | Cleans laminator rollers to keep them working well. |
Roll lifters | Helps move heavy rolls safely in busy workspaces. |
Dust covers | Protects laminators from dirt when not in use. |
For big posters, A1 laminators are great. They work with sizes from A4 to A1. For many posters, roll laminators are faster and better than pouch laminators, which are good for small jobs.
Common Mistakes to Avoid During Lamination
Mistakes can ruin your poster, even with good tools. Watch out for these errors:
Mistake | Why It’s a Problem |
|---|---|
Low-Resolution Images | Blurry prints happen when images aren’t high quality. |
Ignoring Bleeds | Forgetting extra space can cut off designs or leave white edges. |
Overcomplicated Design | Too many details confuse viewers and weaken the poster’s message. |
To avoid problems, use clear images and leave space around the edges. Keep your design simple and focused. A clean, laminated poster always looks great!
Cost Considerations for Laminating Posters
Factors That Affect Lamination Costs
Laminating large posters can cost differently based on several things. Knowing these factors helps you plan and save money. Here’s a simple breakdown:
Factor | Description |
|---|---|
Selected lamination technology | Methods like thermal or cold lamination have different costs. |
Laminating film | Better-quality films cost more but last longer and look nicer. |
Glue layer | The type of adhesive affects both the price and quality. |
Laminating machine | Advanced machines cost more but work faster for big projects. |
Printed matter | Paper or ink type changes how well the lamination sticks, affecting cost. |
Single- or two-side lamination | Double-sided lamination uses more material, so it costs more. |
Environmental conditions | Humid areas slow the process, which can raise labor costs. |
By thinking about these factors, you can estimate costs and avoid surprises.
Typical Price Ranges for Large Poster Lamination
How much does it cost to laminate a big poster? Prices depend on size, material, and lamination type. Here’s a general guide:
Small posters (24×36 inches): Costs about $10–$20 each.
Medium posters (36×48 inches): Usually $20–$40 per poster.
Large posters (48×72 inches): Prices start at $50 or more.
Special laminations, like anti-glare or writable finishes, add $5–$15 extra. Laminating in bulk often gets you discounts, so ask about deals.
Cost-Saving Tips for Poster Lamination
You don’t need to spend too much to laminate posters. Try these tips to save money while keeping good quality:
Pick the right lamination type: For indoor posters, cold lamination is cheaper and works fine.
Order in bulk: Many services give discounts for laminating multiple posters.
Stick to standard sizes: Common sizes like 24×36 or 36×48 inches cost less than custom ones.
Do it yourself for small jobs: If you have a laminator, DIY can save labor costs.
Pro Tip: Compare prices from different shops. Some offer better deals or discounts for big orders.
With smart planning, you can keep costs low and still get great results.
When to Laminate and When Not To
Best Times to Laminate Posters
Laminating is great when you need posters to last longer. It’s helpful for posters in busy places like schools, offices, or events. Lamination stops scratches, spills, and damage. Outdoor posters also benefit from waterproof and UV-resistant lamination. These features keep colors bright and readable, even in sunlight or rain.
Reusable posters like teaching charts or banners stay neat with lamination. Writable laminations are useful for posters you update often, like calendars or brainstorming boards. They let you write and erase easily.
Tip: If your poster needs to last a long time, lamination is worth it.
When You Don’t Need Lamination
Not all posters need lamination. Some materials are strong enough without it. For example, thick cardstock or vinyl can handle wear and tear. Uneven surfaces or cut-stickers may not laminate well. New printing methods also make posters more durable without lamination.
Here are times you might skip lamination:
Posters used for a short time, like event flyers.
Designs printed on tough materials like tear-proof vinyl.
Posters that won’t face heavy use or sunlight.
Skipping lamination saves money and time for temporary or low-risk posters.
Other Ways to Protect Posters
If lamination isn’t right, there are other ways to protect your posters. Try these options:
Use UV-protected glass or acrylic: These block sunlight and prevent fading.
Pick fade-resistant inks and papers: These keep colors bright longer.
Keep posters out of direct sunlight: Place them in shaded spots to avoid fading.
Rotate displays regularly: Switch posters around to reduce sun exposure.
These methods work well for indoor or framed posters. They’re simple, affordable, and effective.
Pro Tip: For framed posters, UV-protected glass adds style and keeps them safe without lamination.
Case Study: Lamination for Large Posters in Action
How Lamination Made Posters Last 4 Times Longer at a Corporate Campus
Think about a busy corporate campus with posters in lobbies and halls. Without protection, these posters would quickly get damaged—scratches, fading, or even tears. By laminating their posters, the campus made them last 4 times longer!
Here’s what happened: lamination added a strong layer that kept posters safe from handling and the environment. Glossy finishes made colors brighter, while matte finishes stopped glare in well-lit areas. The result? Posters stayed fresh and professional for years instead of just months.
This saved the company money on reprints and kept their branding consistent. It’s a great example of how laminating large posters can make a big difference in busy places.
Comparing Non-Laminated and Laminated Posters Over Time
Here’s the difference. Non-laminated posters fade, wrinkle, or tear after a few weeks in tough spots. Laminated posters stay strong and avoid these problems.
Feature | Non-Laminated Posters | Laminated Posters |
|---|---|---|
Durability | Easily tears and wrinkles | Stays tough and damage-free |
Appearance | Colors fade fast | Colors stay bright and clear |
Longevity | Short life in busy areas | Lasts months or even years |
For instance, a printing company saw fewer reprints and better results after using laminated PVC film. This shows how lamination not only protects but also improves poster quality.
Insights from a Print Finishing Expert
A print finishing expert says lamination is key for great prints. “Lamination is like armor,” they say. “It stops damage, keeps colors bright, and looks professional.”
They also stress picking the right lamination type. For outdoor posters, UV-resistant films are essential. For indoor posters, anti-glare finishes work best in bright spaces. Their tip? Always think about where your poster will be displayed. A little planning helps your posters look better and last longer.
Laminating big posters has many perks you can’t overlook. It protects them from damage, makes them look neat, and helps them last longer. Whether it’s a school chart or an outdoor ad, lamination keeps posters in good condition.
Picking the right lamination type is important. Think about where you’ll use the poster and which finish suits it best. Planning ahead helps your posters look their best.
If you want your posters to stay bright and professional, lamination is worth it. It doesn’t just protect—it makes your message stand out for a long time!
FAQ
1. Can I laminate a poster at home without professional equipment?
Yes, you can! Use self-stick laminating sheets for small posters. For bigger ones, a home laminator with roll film works well. Make sure your poster is clean and straight before starting.
2. Does lamination ruin the quality of my poster?
No, it doesn’t! Lamination makes colors brighter and protects from damage. Pick gloss for bold designs or matte for a smooth, no-glare look.
3. How do I avoid bubbles when laminating?
Bubbles happen when air gets trapped under the film. To stop this, clean your poster first and feed it slowly into the laminator. If using self-stick sheets, press down firmly with a flat tool as you go.
4. Is lamination eco-friendly?
Not really. Lamination uses plastic, which isn’t great for the planet. If you care about the environment, try UV-protected glass or biodegradable coatings instead. These options protect your poster and are more eco-friendly.
5. Can I write on a laminated poster?
Yes, but only with writable laminations. Use dry-erase markers for teaching charts or calendars. Wipe them clean when you’re done!
Pro Tip: Test your marker on a small spot first to avoid stains.


