Custom contour cutting is a new way to make signs look amazing. It shapes materials into cool designs that catch people’s eyes. This method creates detailed shapes, like 3D letters or logos, to help people notice your brand. These signs usually have no borders, making your designs stand out more. Adding lights behind them makes them look even better and more professional. Whether for stores or building names, custom contour cutting makes sure your signs are unforgettable.
Key Takeaways
Custom cutting makes special shapes for signs to grab attention.
Creative displays can raise sales a lot, even by 25%.
Materials like foam board and acrylic make signs stronger and nicer.
Setting up files right helps get smooth cuts and good results.
Experts can save time, avoid errors, and make signs last longer.
Why Custom Contour Cutting Matters in Large Format Printing
Moving Beyond Standard Shapes
Custom contour cutting lets you go beyond plain shapes like squares. You can make signs that match your brand’s style. For example, a coffee shop could use a sign shaped like a coffee cup. This grabs attention and makes the design unique.
More businesses are using this technology now. A survey showed 21% of companies already use contour cutters. Another 20% plan to buy them soon. This shows how important custom designs are for staying ahead.
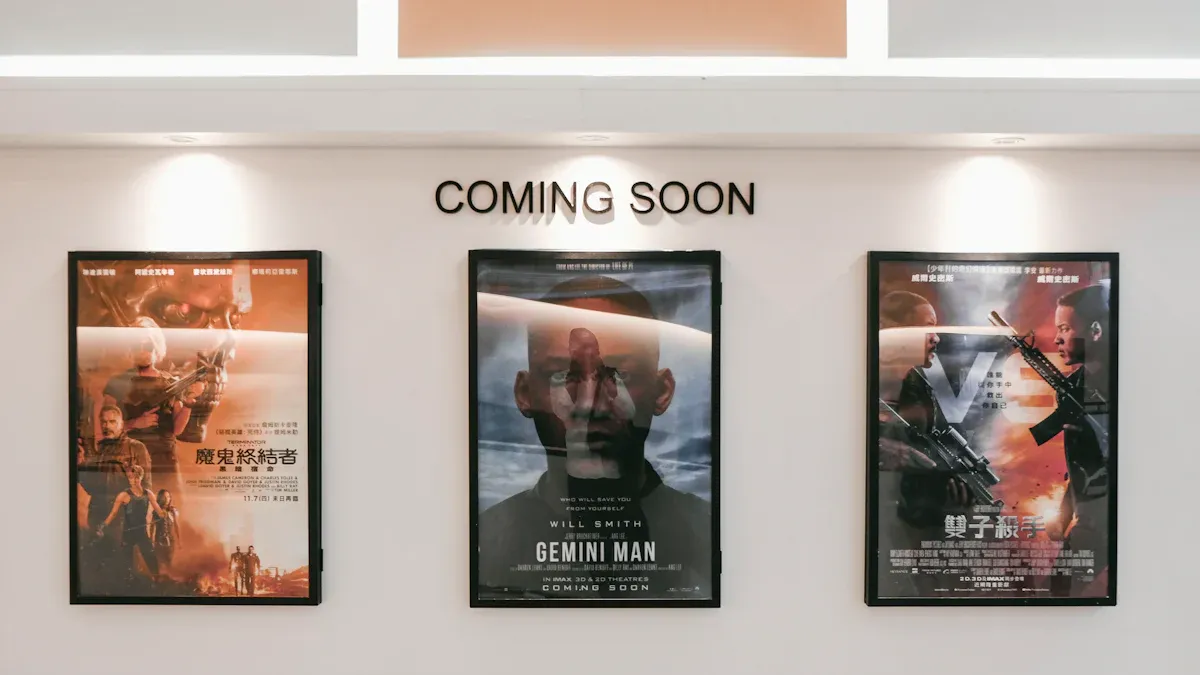
Applications in Retail, Exhibits, and POP Displays
Stores, trade shows, and POP displays benefit a lot from custom cutting. Creative displays catch people’s eyes and help sell more products. A good POP display can boost sales by 25%. Also, 80% of shoppers buy things they didn’t plan to because of cool displays.
Both short-term and long-term displays work well. Temporary displays can raise sales by 23.8%, while permanent ones increase sales by 19%. For example, Kraft made a display shaped like one of their products. This design helped them sell much more, showing how custom displays work.
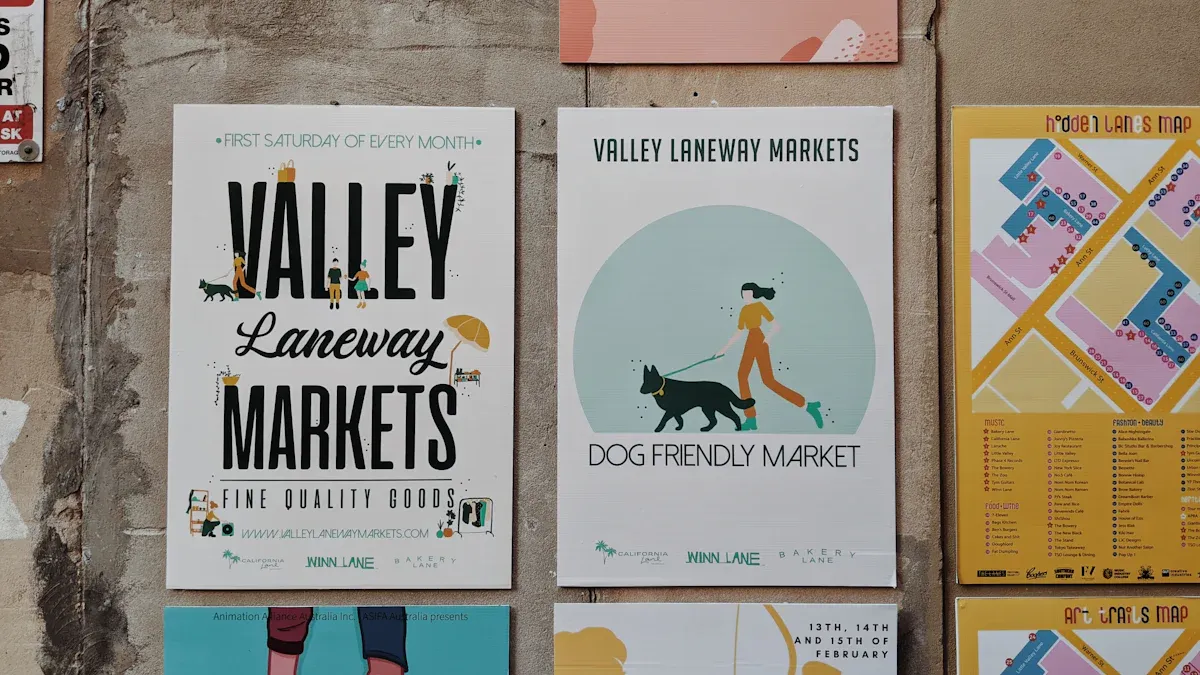
Enhancing Brand Identity with Custom Designs
Custom contour cutting helps make your brand stronger. Unique shapes and designs create a look people remember. A sign shaped like your logo or product makes your brand stand out.
You can also try different materials, colors, and finishes. This makes sure your signs match your brand’s message. Whether your business is small or big, custom designs help you shine in busy markets.
How Custom Contour Cutting Differs from Traditional Methods
Comparing to Die Cutting and Other Older Techniques
Custom contour cutting is different from older methods like die cutting. Die cutting is good for making many items with the same shape. It gives smooth edges but needs a special die, which costs time and money. Digital contour cutting skips the die, making it better for small, custom jobs.
Here’s a simple comparison to show the differences:
Feature | Die Cutting | Digital Cutting |
|---|---|---|
Precision | Smooth edges, consistent shapes | Very precise with laser tools |
Cost-Effectiveness | Cheap for big jobs, low waste | Great for small jobs, slower for big runs |
Initial Costs | High due to die creation | No die cost, but machine cost applies |
Cut Quality | Good, depends on die quality | Excellent detail, less waste |
Both methods have their uses. Die cutting works for big jobs, while digital cutting is best for detailed or one-time designs.
Benefits: Accuracy, Flexibility, and Saving Money
Custom contour cutting has three big benefits: accuracy, flexibility, and saving money. Machines like laser cutters are very accurate. They make fewer mistakes and give clean results. For example, modern machines can handle tricky shapes with extra precision.
Flexibility is another plus. You can make cool designs, tricky shapes, and even 3D effects. Materials like foam, PVC, or acrylic work well with this method. This makes it great for businesses wanting to stand out.
Lastly, it saves time and money. It cuts down on work time and costs, speeding up projects. Faster work means you finish jobs quickly without losing quality.
Advantage | Example |
|---|---|
Precision | Modern machines reduce mistakes and improve accuracy. |
Flexibility | Can create tricky shapes and control all five axes. |
Cost-effectiveness | Saves time and labor, making projects faster and more efficient. |
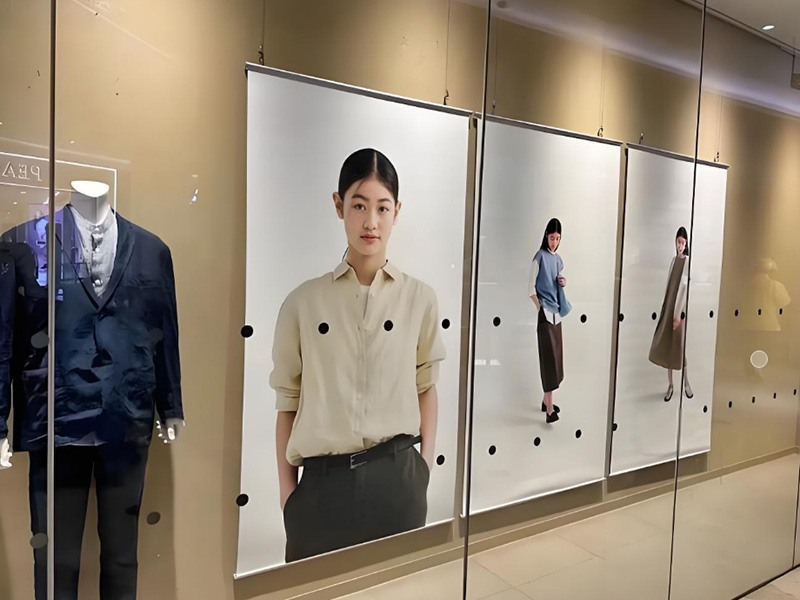
Products That Use Contour Cutting
Custom contour cutting works for many products. Stores, events, and businesses use it to make cool displays and useful items. Here are some examples:
Party props and seasonal decorations
Wall fabrics and museum displays
Poster boards and vehicle decals
Window clings and vinyl stickers
For example, museums use it to make detailed wall displays for visitors. Businesses can make unique window stickers to promote their brand. These products look great and leave a strong impression.
Product Type |
|---|
Wall & door fabric |
Seasonal decorations |
Poster boards |
Party props |
Wind banner flags |
Museum and gallery wall narrative |
Sintra / PVC boards |
Window clings |
Self-adhesive removable vinyl |
With custom contour cutting, you can turn plain materials into amazing designs that grab attention.
Tools and Processes for Custom Contour Cutting
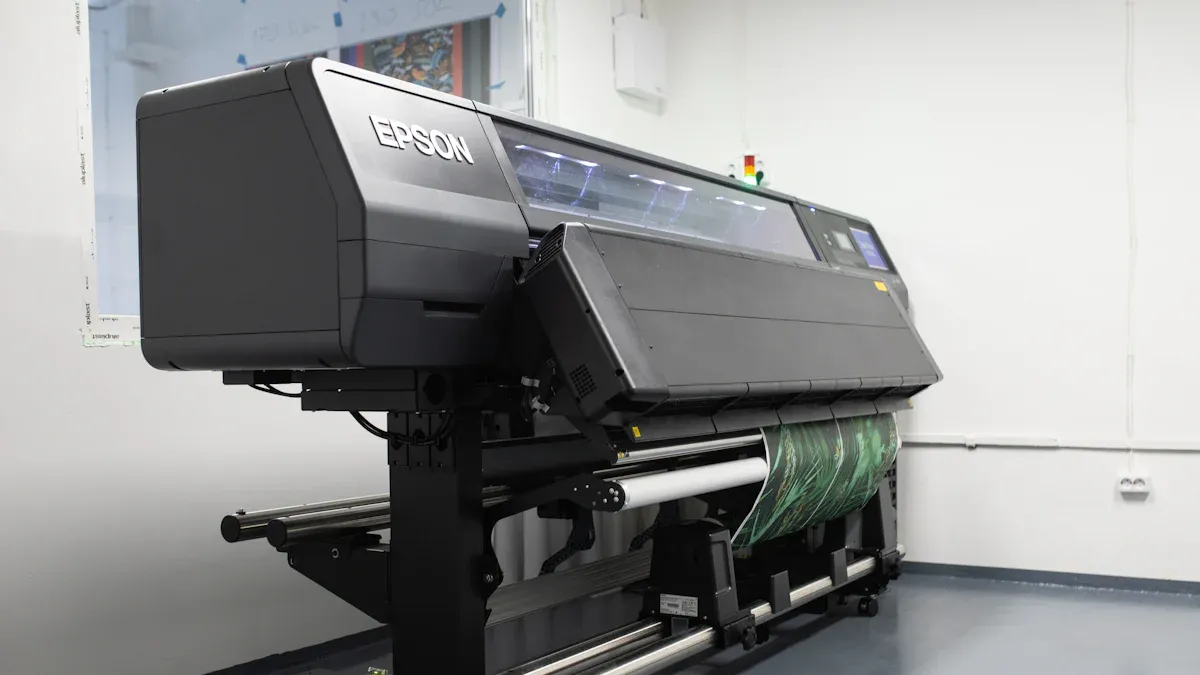
Flatbed Cutters, Plotters, and Laser Cutters
The tools used for custom cutting are very important. Flatbed cutters, plotters, and laser cutters are popular choices. Flatbed cutters are fast and work with many materials. They are great for projects needing speed and accuracy. Laser cutters use strong lasers to make super-precise cuts. They don’t need physical tools, so setup is quick, and tools don’t wear out. Plotters are slower but good for detailed line work in special tasks.
Each tool has its own benefits. Flatbed cutters reduce waste and handle many tasks at once. Laser cutters are fast and efficient for big jobs. The right tool depends on your project, but all can give great results.
The Role of Registration Marks and Sensor Alignment
Registration marks and sensors are key for accurate cutting. Registration marks guide the machine to cut in the right spots. Sensors read these marks and adjust the cutting path. This process avoids mistakes and keeps cuts matching the design.
New tools now use software to make cutting even better. For example, simulation software improves cutting paths, saving time and extending tool life. Machines can also cut tricky shapes faster and with fewer seams, making parts look better.
File Setup Essentials: Artwork and Cutting Files
Setting up files correctly is very important for good cutting. First, make your artwork the right size and resolution. Add a cutting path using a Spot Color called ‘CutContour.’ Include a bleed to avoid white edges. Save your file as .ps, .eps, or .prn for machine compatibility.
Here are tips for preparing files:
Make a second artboard for the cutting path and place it over the design.
Save files as high-quality PDFs and turn text into outlines.
Remove extra layers and keep only paths and shapes.
“Good file setup is key for perfect cuts. Always check your die line and file structure before sending it in.”
By following these steps, you can avoid errors and get your designs ready for production.
Finishing Options for Professional-Grade Results
Types of Finishes: Kiss Cut, Cut Through, and More
Picking the right finish changes how your project looks and works. Two common methods are kiss cut and cut-through. Kiss cutting slices the top layer but keeps the backing whole. This is great for stickers and labels because they peel off easily. Cut-through finishes cut through both the material and backing, making separate pieces. This is best for strong items like signs or decals.
Each method has its benefits. Kiss cutting costs less since it uses less material and tools. Cut-through finishes are stronger, so they last longer. Think about what your project needs and how durable it should be when choosing.
Laminating, Mounting, Grommeting, and Trimming
Cutting isn’t the last step. Other processes like laminating, mounting, grommeting, and trimming make projects look professional. Laminating adds a protective layer, keeping designs safe from damage. Mounting attaches designs to sturdy backings for displays or walls. Grommeting adds metal rings to banners, making them easy to hang. Trimming cleans up edges for a neat finish.
These steps make projects look better and last longer. For example, laminating stops scratches and sun damage. Grommeting helps banners survive outdoor weather. Using these finishing touches makes your designs stand out and stay strong.
Combining Materials Like Foam Core, PVC, and Acrylic
Mixing materials creates displays that look great and last long. Foam core acrylic is light but tough, perfect for bright, durable signs. PVC foam sheets resist weather and have smooth surfaces, good for indoor or outdoor use. Acrylic panels stay clear and colorful, making designs sharp and professional.
These materials are flexible and easy to customize. Foam core acrylic is stylish and strong, used in homes and businesses. PVC foam boards are light and affordable, great for ads. By combining materials, you can create unique designs that fit your needs.
Tip: Try different materials to find the best mix of strength, cost, and style for your project.
Practical Tips for Cost-Effective and High-Quality Results
Setting Up Files and Checking Artwork
Getting your files ready is important for good results. Make sure your artwork has the right size and clear resolution. Use formats like .eps or .pdf for sharp designs. Add a path called ‘CutContour’ to guide the cutting machine. Include marks to help the machine cut in the right spots.
Check your files before sending them. Look for missing layers, wrong colors, or blurry images. Many companies can review your artwork to find mistakes. Using this service saves time and avoids errors. A well-prepared file makes sure your cuts are clean and your project looks great.
Working with Printing and Cutting Experts
Experts can make your project better. They have advanced tools and know how to get things done right. Their help saves you time and ensures your designs look amazing.
Here are some examples:
Example | What They Did | Result |
|---|---|---|
Local Café | Made colorful signs with unique fonts. | More customers and stronger brand identity. |
Tech Startup | Added digital signs showing services and deals. | More interest and customer questions. |
Family-run Hotel | Replaced old signs with bright LED ones. | Better curb appeal and more guests. |
These examples show how experts can turn signs into great marketing tools.
Avoiding Mistakes in Cutting and Finishing
Mistakes can ruin your project. Problems like bad file setup or shaky machines can cause rough edges. These issues make signs look bad and wear out faster. Poor surface quality can also make signs less durable.
To prevent these problems, check your files and use good materials. Keep your cutting tools clean and working well. Hiring skilled professionals reduces mistakes and ensures your project turns out perfect. Paying attention to every step helps you get the results you want.
Custom contour cutting makes regular signs look unique and eye-catching. It helps people notice your brand and remember it longer. Using good tools and methods keeps designs accurate and strong. Adding finishes like laminating or mounting improves how the signs look.
Working with experts makes everything easier. They help set up files the right way and avoid errors. Their advice ensures your signs look professional and last longer. Picking the best techniques lets you create signs that grab attention and share your message clearly.
FAQ
What is custom contour cutting?
Custom contour cutting uses special machines to shape materials into cool designs. Tools like laser cutters and flatbed cutters make clean, detailed cuts. This helps create signs, displays, and decals that grab attention and make your brand stand out.
Which materials work best for contour cutting?
Foam core, PVC, and acrylic are great options. Foam core is light and budget-friendly. PVC is strong and works indoors or outdoors. Acrylic looks shiny and professional, perfect for fancy displays.
How do registration marks improve cutting accuracy?
Registration marks help machines cut in the right places. Sensors read these marks to follow the design exactly. This reduces mistakes and makes your project look neat and high-quality.
Can contour cutting handle complex shapes?
Yes, it’s great for tricky shapes! Advanced tools like laser cutters can make detailed designs and even 3D effects. This ensures your project looks unique and professional.
Why should you work with experts for contour cutting?
Experts know how to use advanced tools and avoid errors. They make sure your files are ready and deliver top-notch results. This helps your brand look better and stand out more.